Connecting HubSpot: how to get an access token
For Sales Workshop to create deals and contacts in your HubSpot account, you need to issue a static access token in your own HubSpot account and paste it into the platform's settings. Unlike amoCRM or Bitrix24, this needs no OAuth flow or redirect — just one token you create yourself.
On newer HubSpot accounts this screen is called Service Keys and is reached via "Private Apps" → "Legacy Apps" (HubSpot redirects you there itself) — the steps below follow that exact path.
Step 1. Open Settings
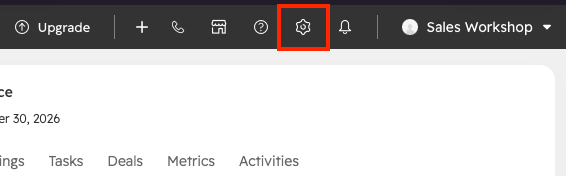
In the top right corner of HubSpot, click the gear icon (Settings).
Step 2. Open Private Apps
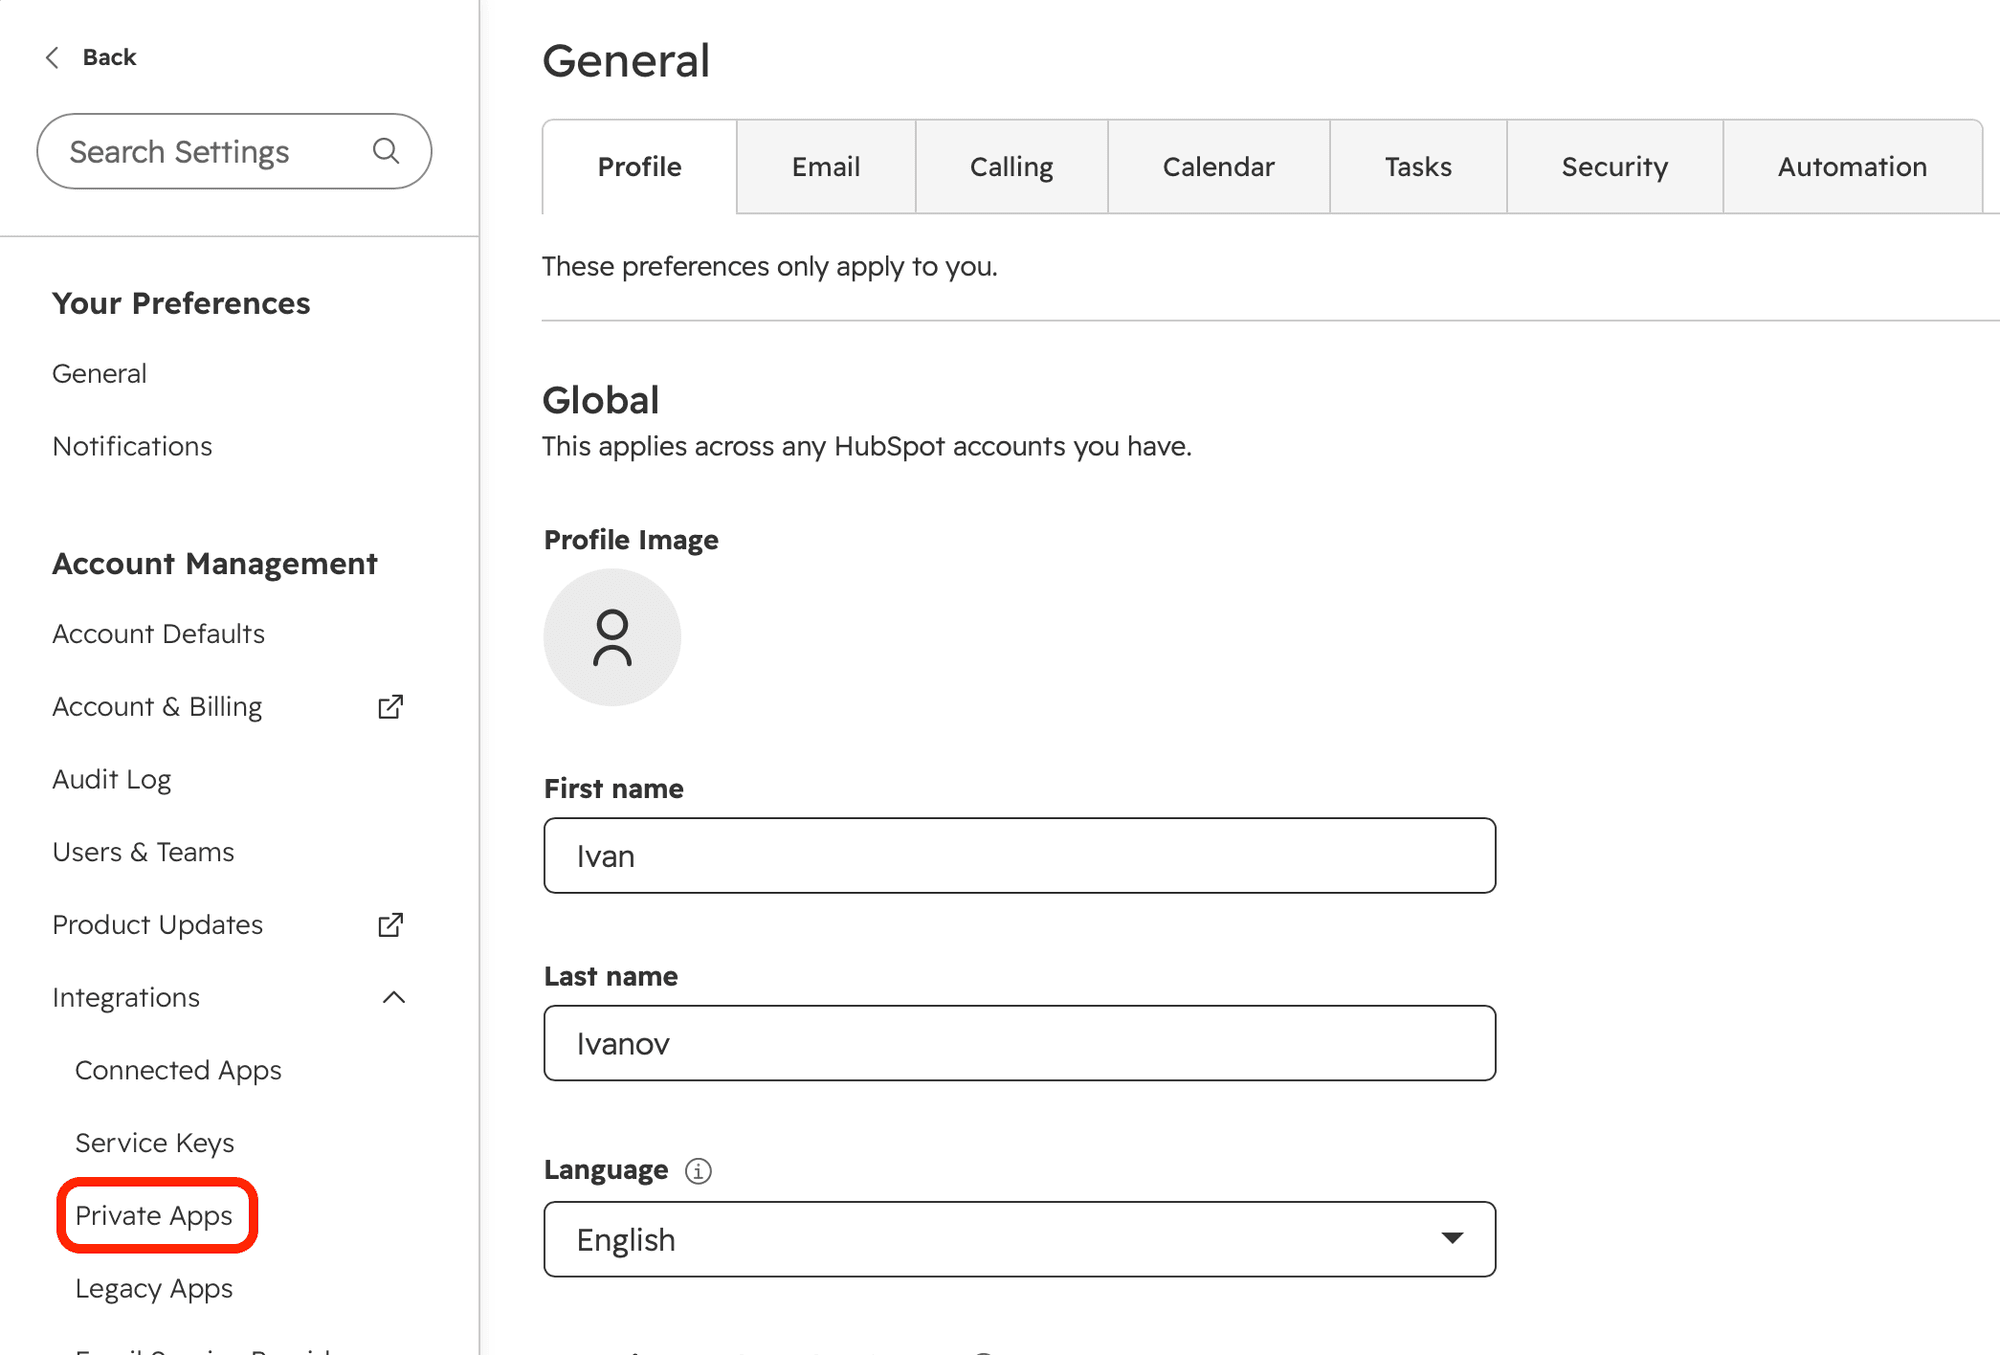
In the left settings menu, expand "Integrations" and choose "Private Apps".
Step 3. Get to the key creation screen
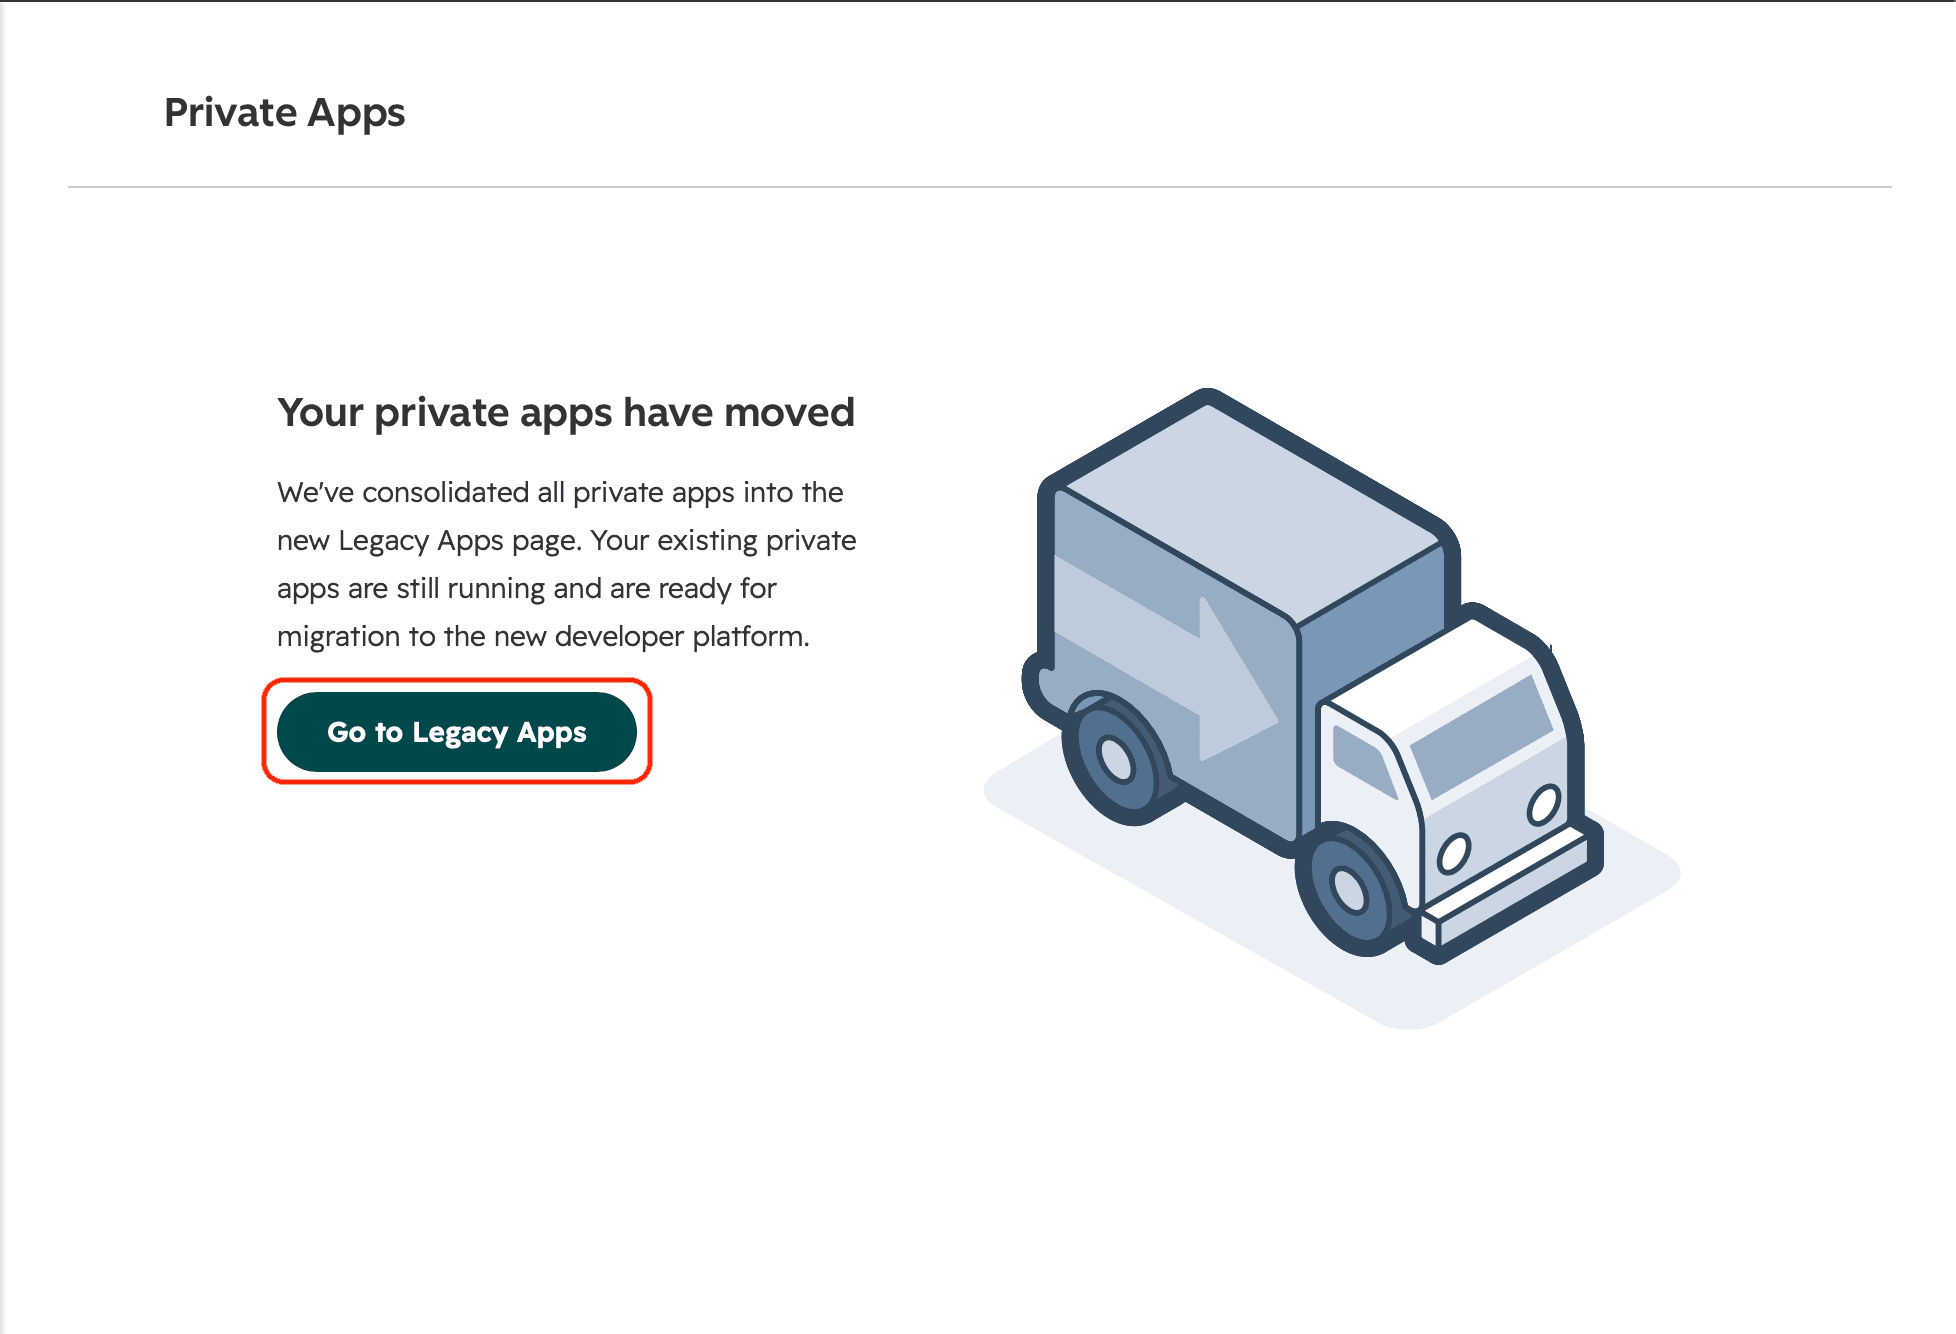
On some accounts, HubSpot will say private apps have moved — click "Go to Legacy Apps".
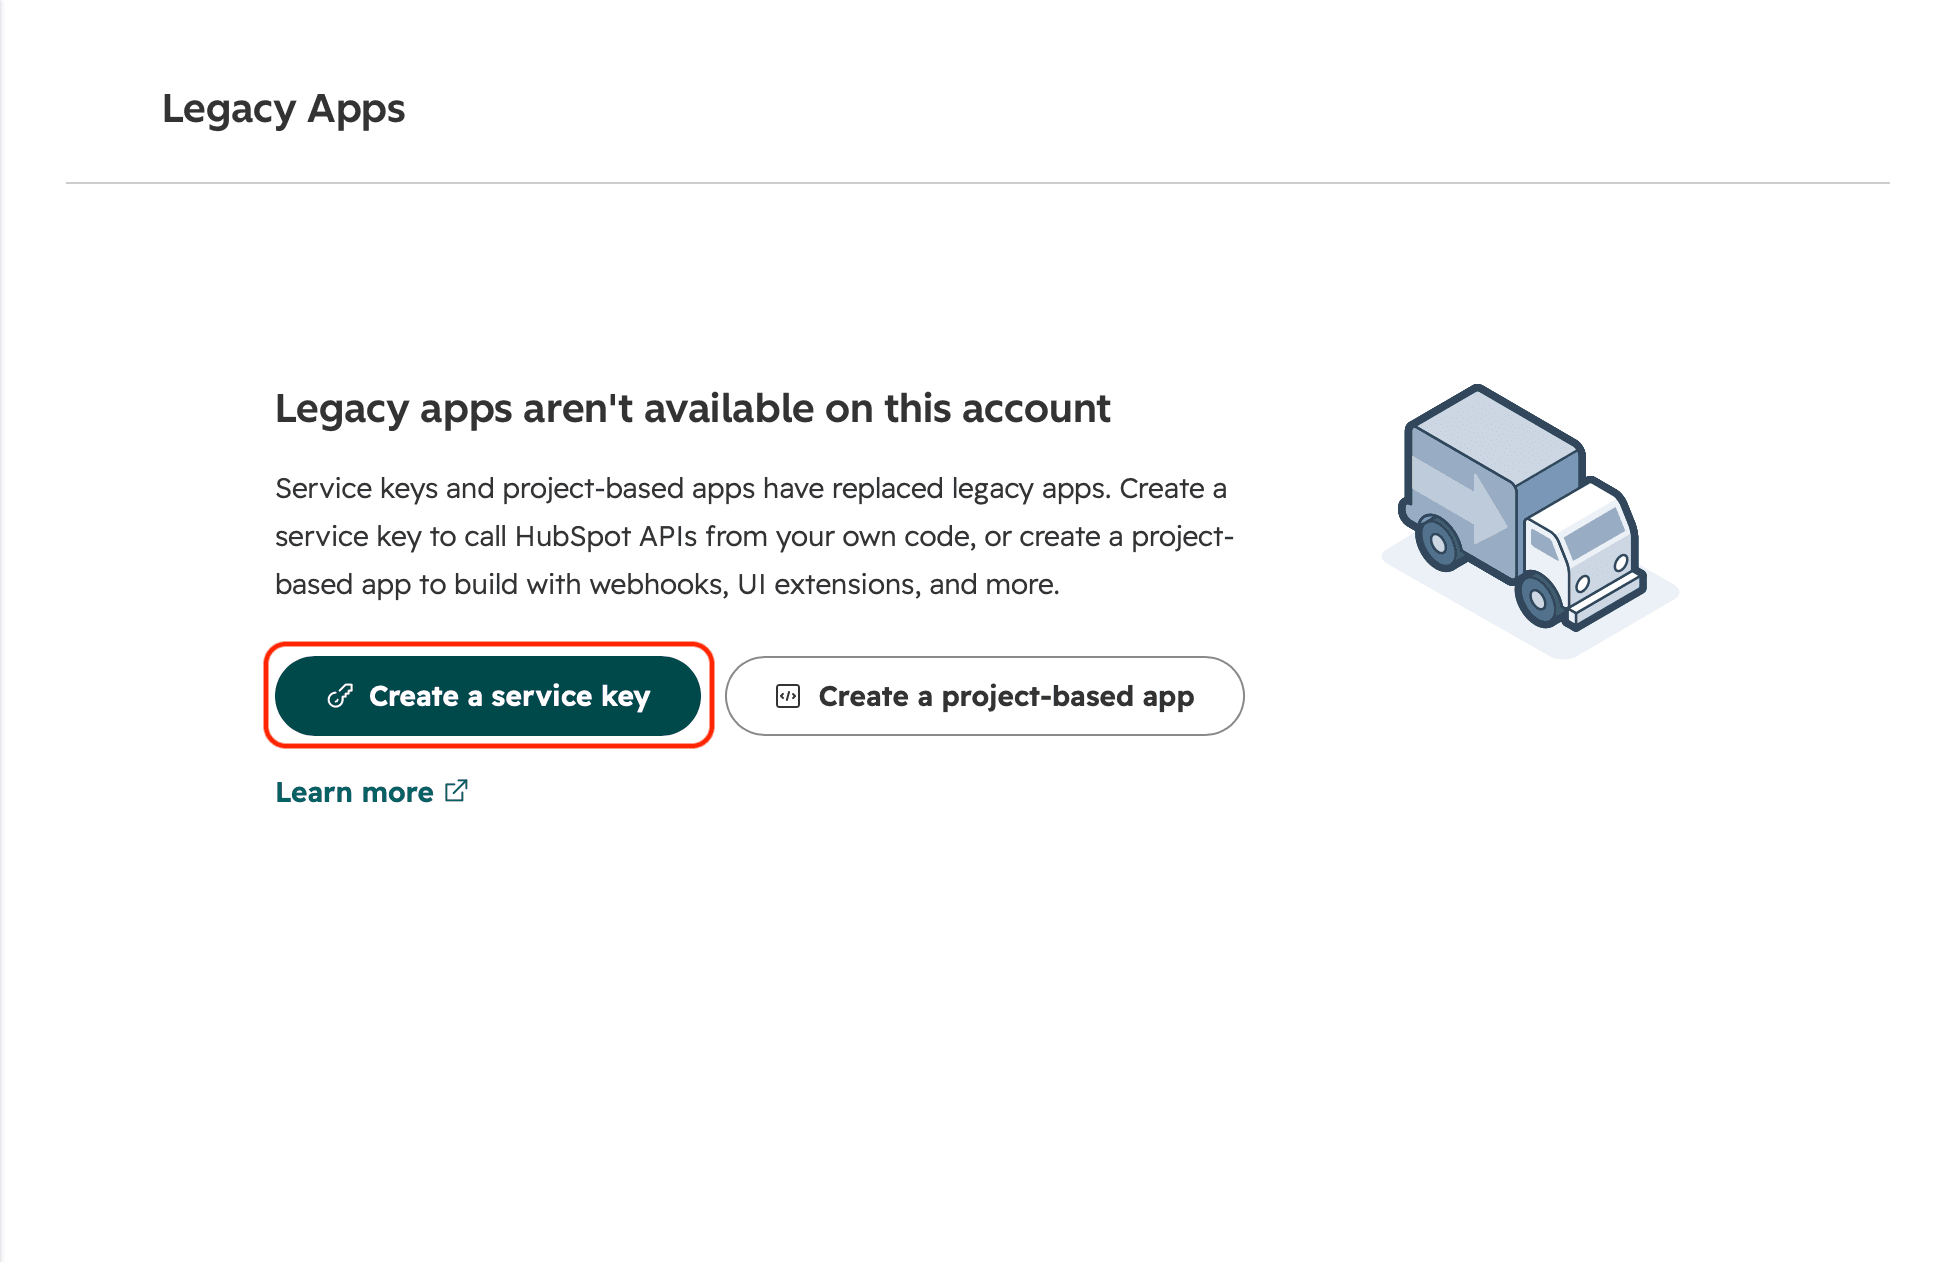
Next, HubSpot will say legacy apps aren't available on this account and offer to create a service key instead — click "Create a service key".
Step 4. Create the service key
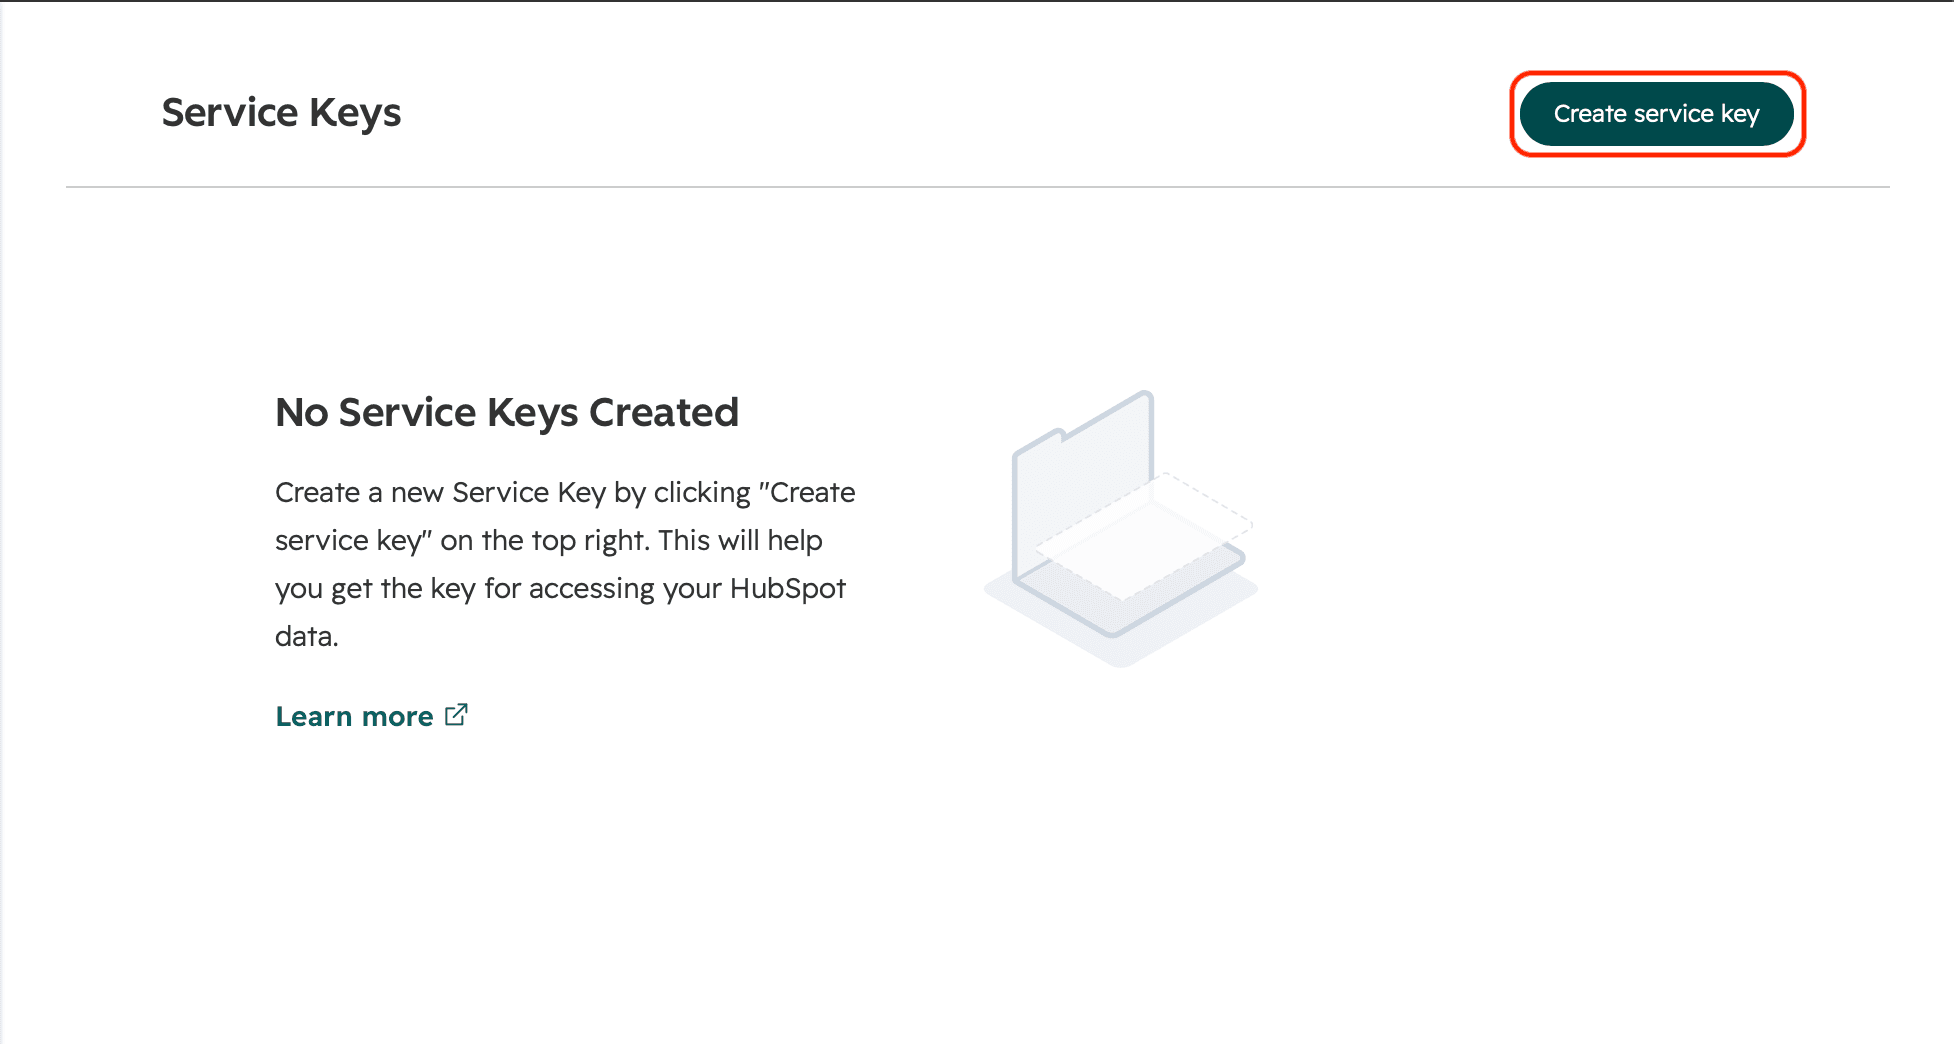
On the empty Service Keys page, click "Create service key".
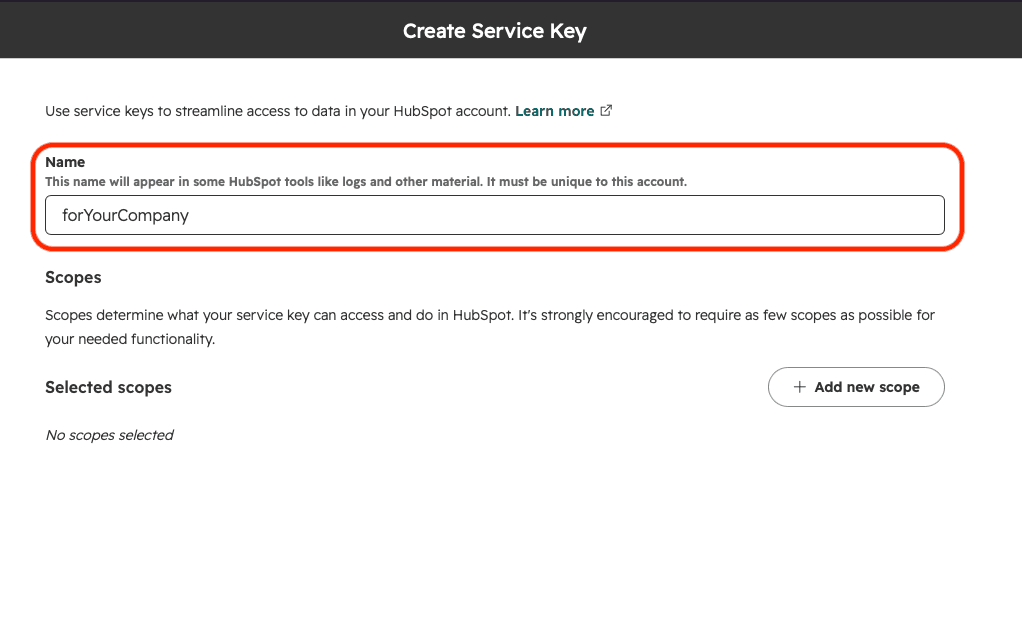
In the form that opens, give the key a clear name, e.g. "Sales Workshop", so it's easy to find later.
Step 5. Grant scopes
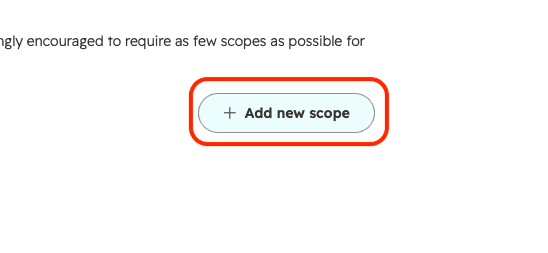
Click "Add new scope" — without these, HubSpot will reject lead pushes with an access error.
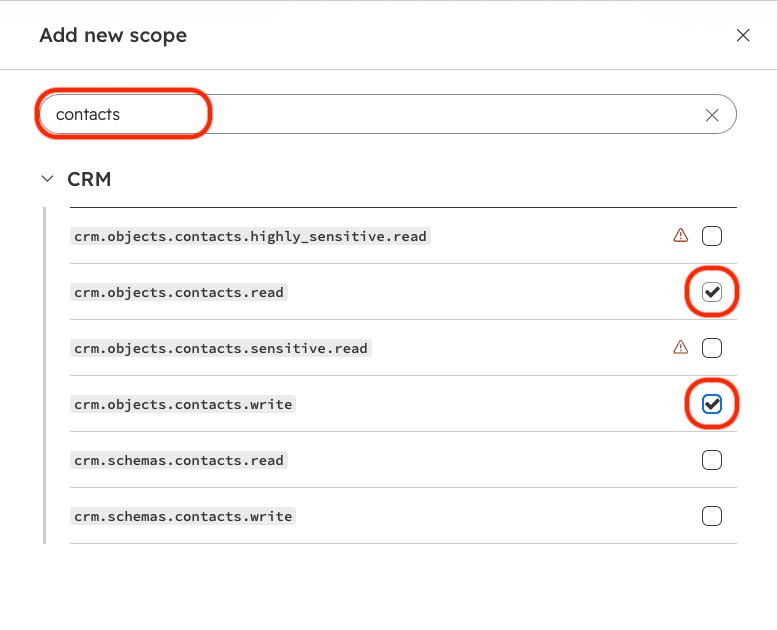
Search for contacts and enable:
crm.objects.contacts.readcrm.objects.contacts.write
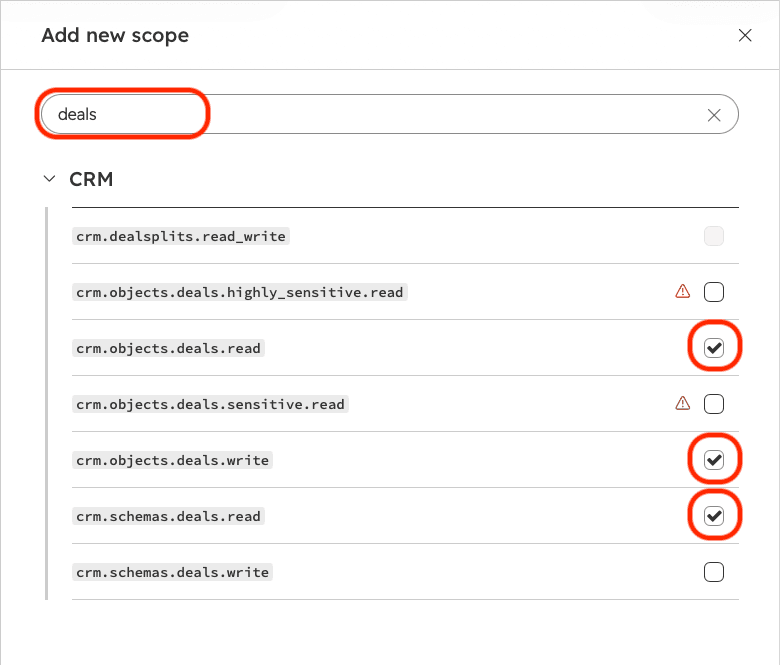
Search again for deals and enable:
crm.objects.deals.readcrm.objects.deals.writecrm.schemas.deals.read
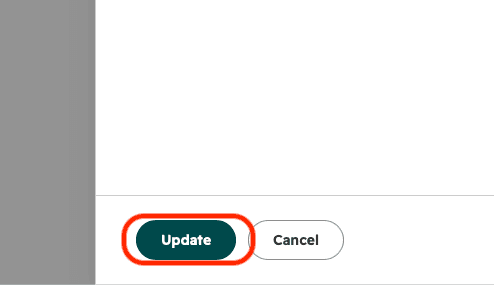
Close the scope picker with "Update".
Step 6. Create the key and copy the token
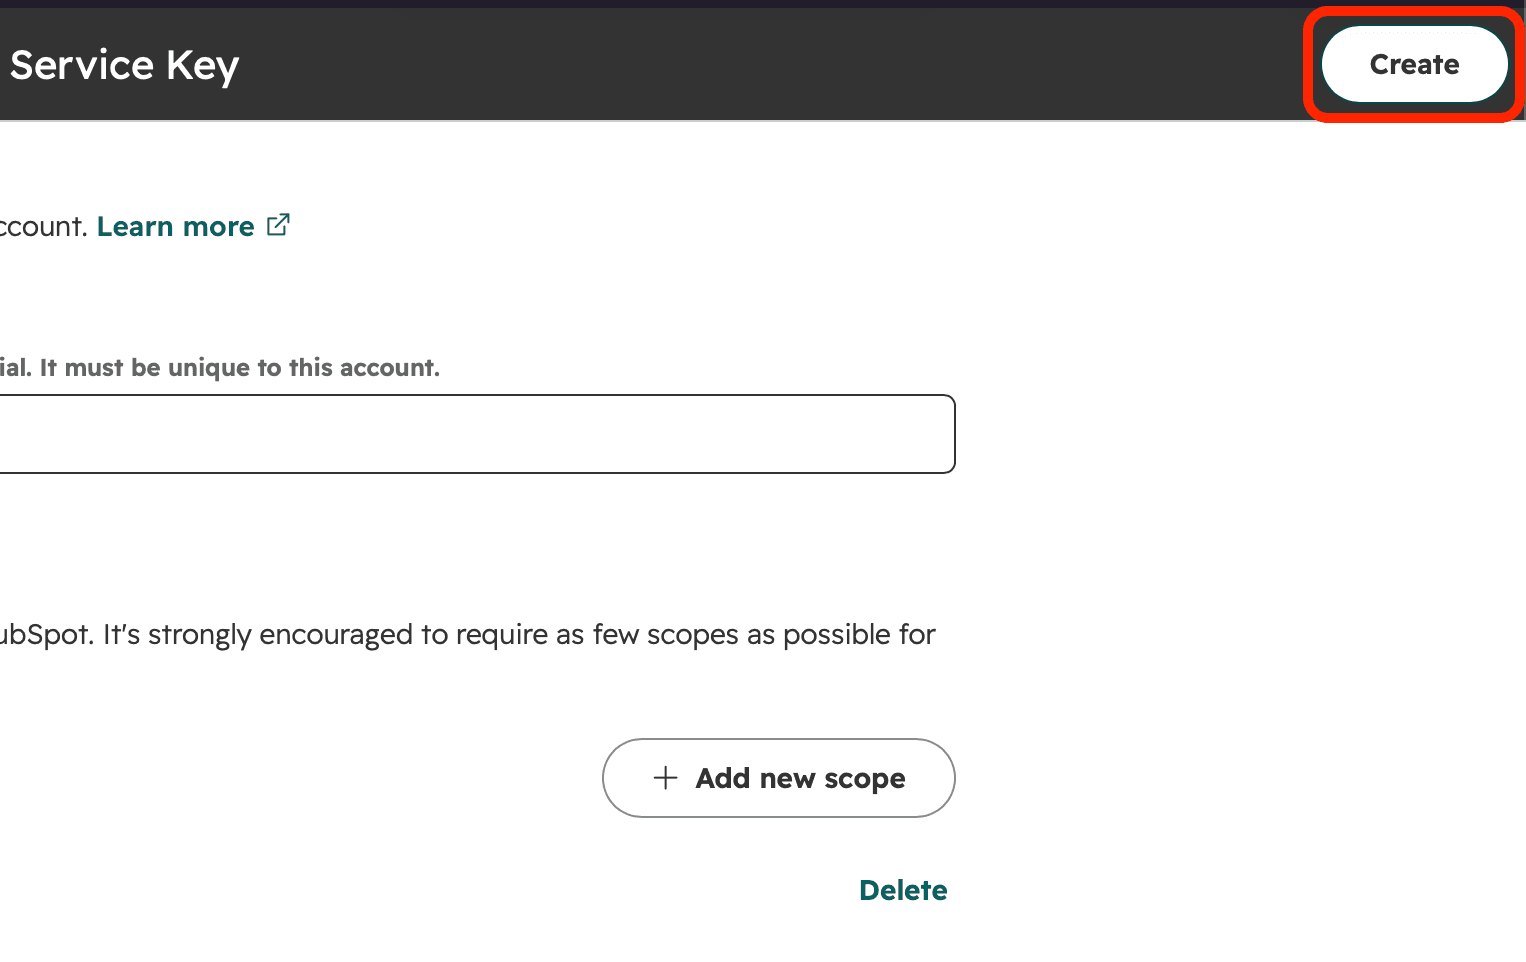
Click "Create" in the top right corner of the page.
Step 7. Paste the token into Sales Workshop
In Sales Workshop's settings, open the "Leads & CRM" section → the HubSpot card and paste the copied token into the Access Token field.
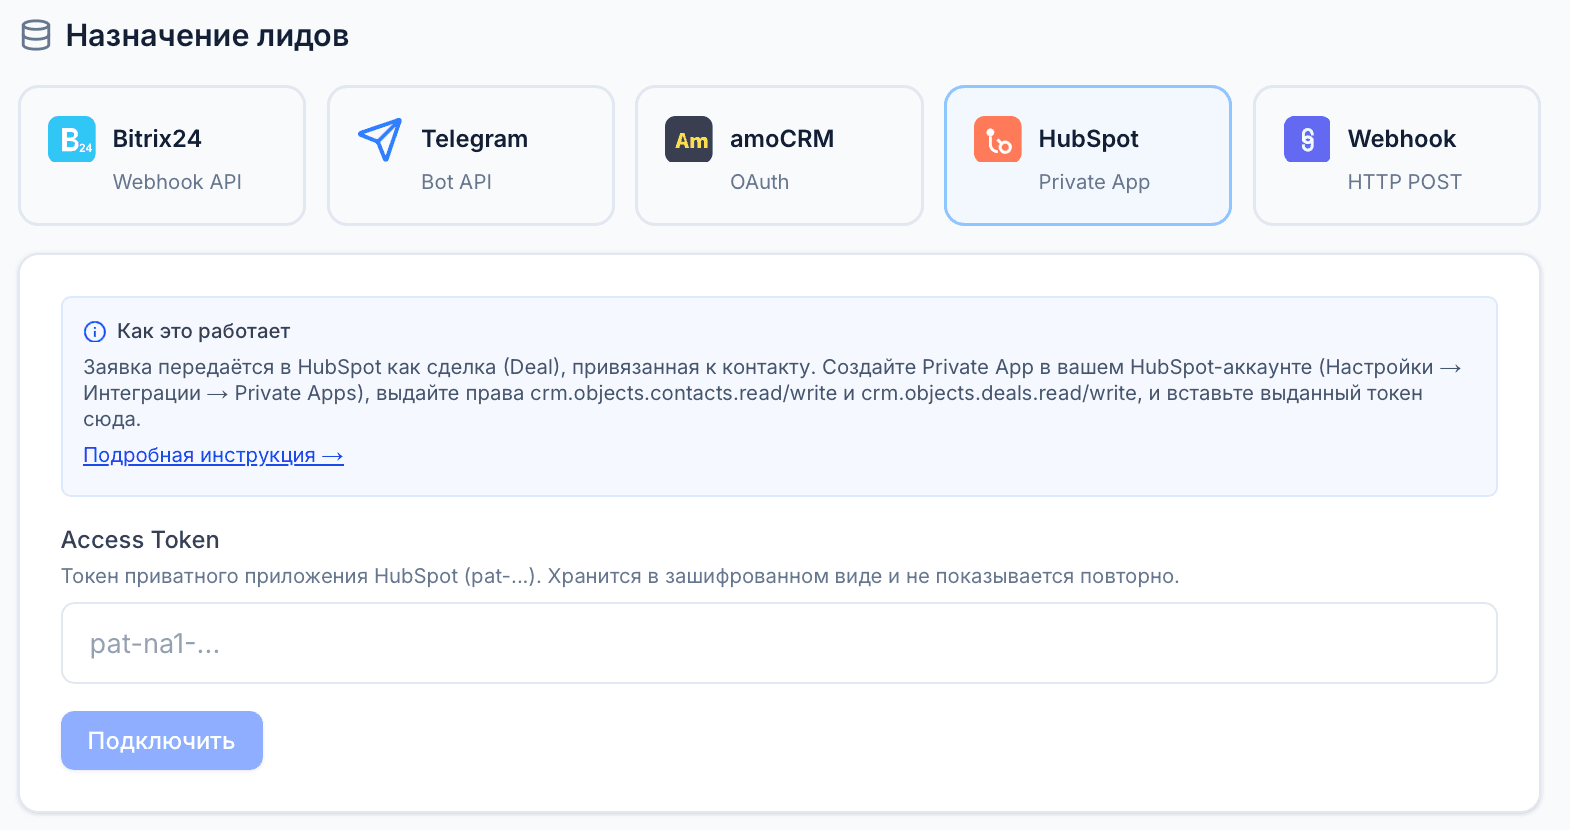
Click "Connect" — Sales Workshop verifies the token right away and starts sending leads to HubSpot.